


This tutorial shows you how you can create straight lines and circles with GIMP (Gimp – Open source image retouching and editing tool.). A straight line can be drawn using the Shift key, instead of relying on the imprecision of the mouse. A perfect circle can be drawn by setting the aspect ratio of an ellipse.
Let’s start by creating a new file. Open up Gimp, A window titled GNU Manipulation Program as seen below should pop up.
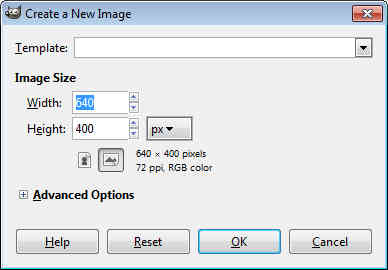
In the upper left hand corner click on File then New… The following window appears.
Let Us Begin With The Straight Line
Leave the settings at 640×480 pixels since that should be all we need for this tutorial, if you plan on making something higher resolution or of different dimensions you can adjust these settings. Click OK and you will have your work space.To draw a straight line click on the pencil Icon in the toolbox, place the pointer over the white surface and place a dot where desired.


After placing the dot move your cursor to the desired end point, hold shift and click to place a line.
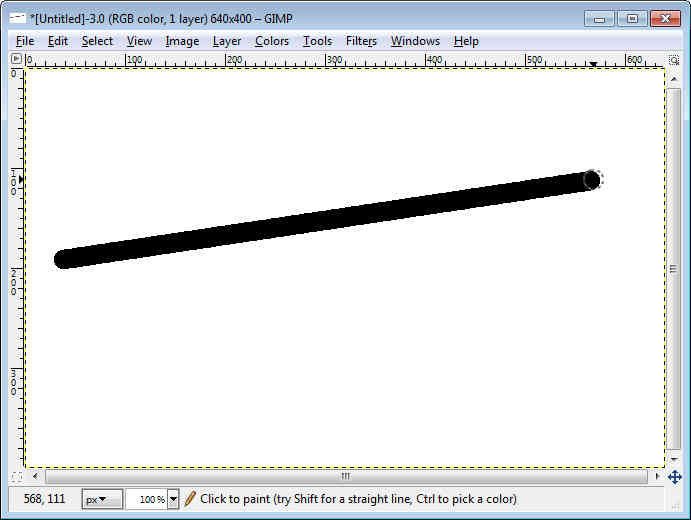
The thickness and other effects for line creation are adjusted in the Tool Options” pane on the left hand side in the tool box. See how adjusting the thickness to seven made a thinner line?

The Circle Is Just As Easy
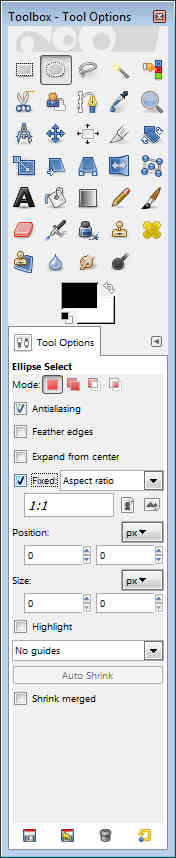
Now to create a perfect circle! Change to the ellipse select tool in the toolbox, instead of the pencil, otherwise you will draw another line. To make it a perfect circle, in the tool options part of the toolbox you’ll want to check fixed aspect ratio.

Click and drag in the drawing area until you create a circle of the desired size, and then release the mouse button.
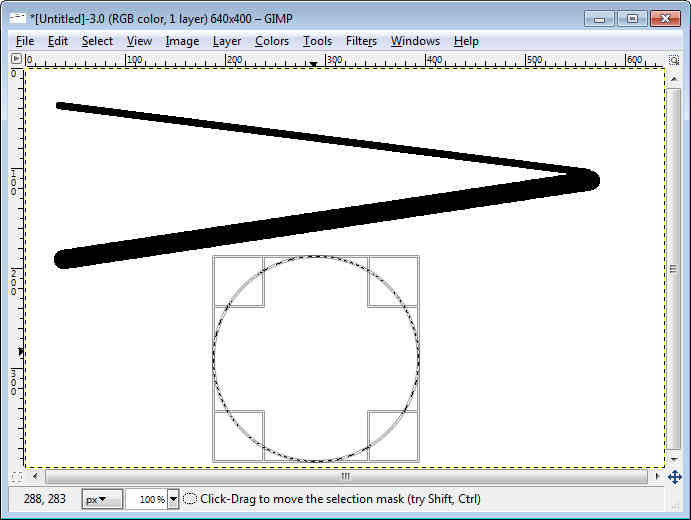
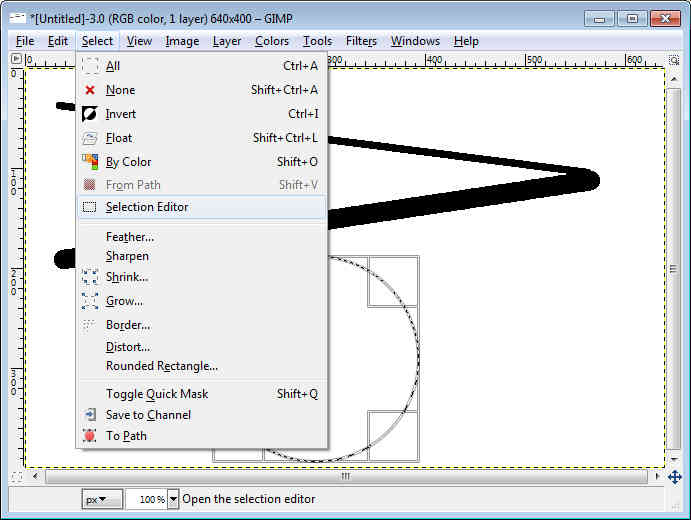
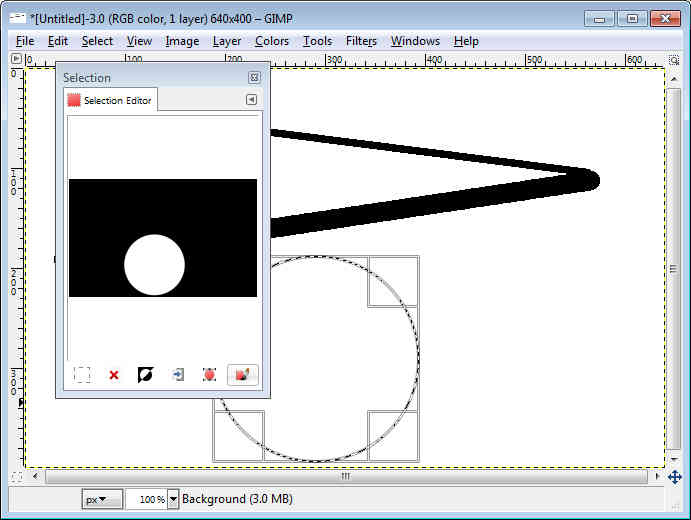
A moving dotted line, marking your circle, tells you that you created the circle correctly. Leave the circle selected and go up to the top row and choose Select, then choose Selection Editor, this will fill the circle with color.
After opening the selection editor you’ll want to select the paintbrush in the lower right hand corner.
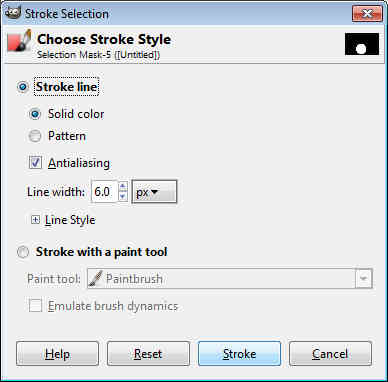
After opening the choose stroke style window you may adjust the settings which will adjust thickness, color, style and other more advanced options. Click stroke to draw your circle.
Exit out of the selection editor and click outside of your circle to deselect it, and you have your circle!
A straight line, a circle, hey no problem and you thought this was going to be as painful as going to the dentist.