This tutorial shows you how you can create complex shapes such as filled squares, circles and free form shapes with GIMP (Gimp – Open source image retouching and editing tool.). Using the toolbox options we can control whether we have a rectangle or square and similarly an ellipse or circle. The toolbox also helps us pick the fill color for any shape.
Lets start by creating a new file. Open up Gimp, A window titled GNU Manipulation Program as seen below should pop up.
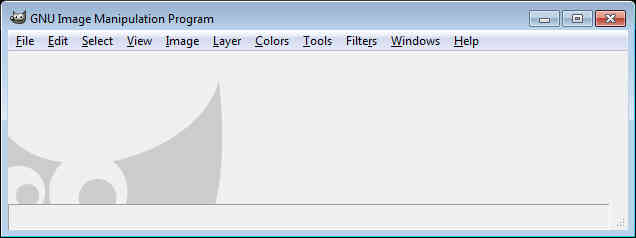
In the upper left hand corner click on File then New… The following window appears.
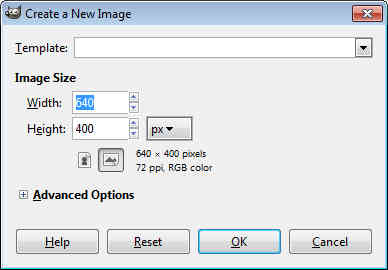
Something Easy to Start With Before Complex Shapes
I changed the settings from 640×400 to 800×800 to have a larger work surface. If you plan on making something more high resolution or of different dimensions you can adjust these settings. Click OK and you will have your work space. We’ll start by drawing a solid square and a solid circle. To start with a square you’ll need to select the “rectangular select tool” as seen below.

If you would like to draw a perfect square select the check box marked “fixed aspect ratio” in the toolbox tool options further down where the tap labeled “tool options” is located.

Click and drag the left mouse button to create a square of the size you desire, you may also uncheck the “fixed aspect ratio” box to create a rectangular shape.
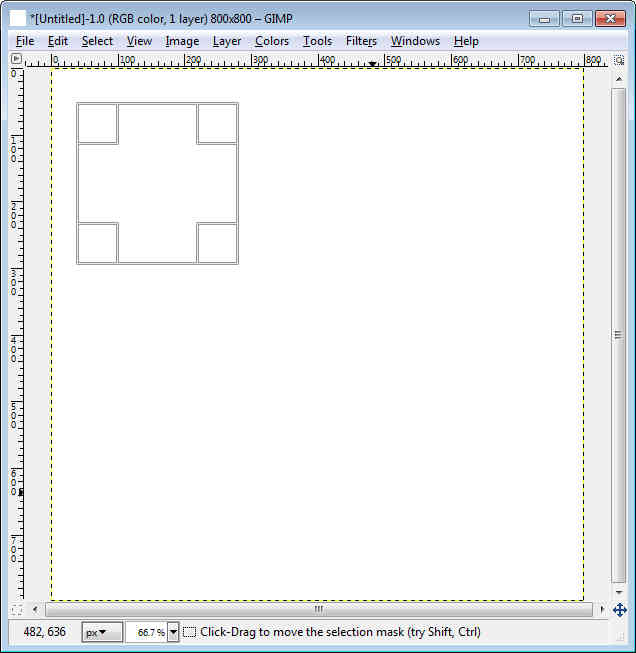
To fill in the selected rectangle or square click on the “bucket fill tool” as seen below in the toolbox.

You may select the color you wish to paint your square by clicking on the large black box located on the bottom of this image or the middle of the toolbox. After you have selected your color you may now fill in your shape, click once with the paint bucket inside of your square selection to fill it with color.
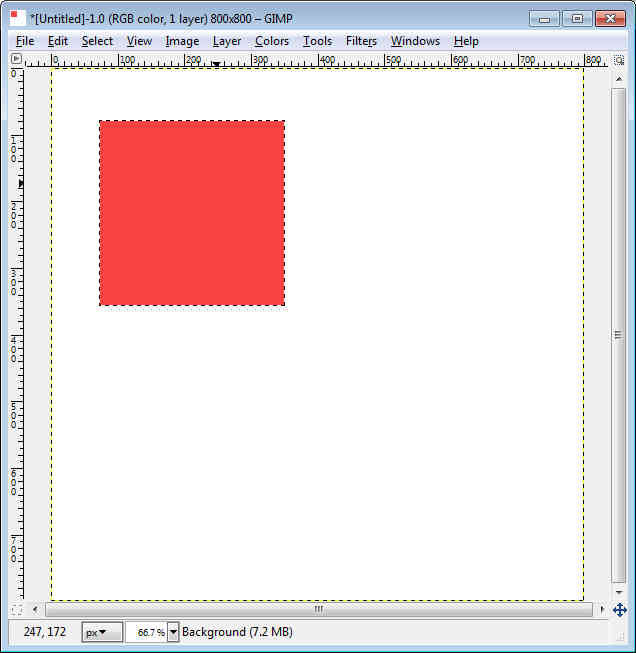
To deselect, click on the “rectangular select tool” once more and click outside of your square in the white area once to deselect the square. To draw a circle repeat the technique learned above but instead of using the “rectangular select tool” use the “ellipse select tool” as shown. Be sure to check “fixed aspect ratio” if you desire a perfect circle.

Now we have a circle and a square.
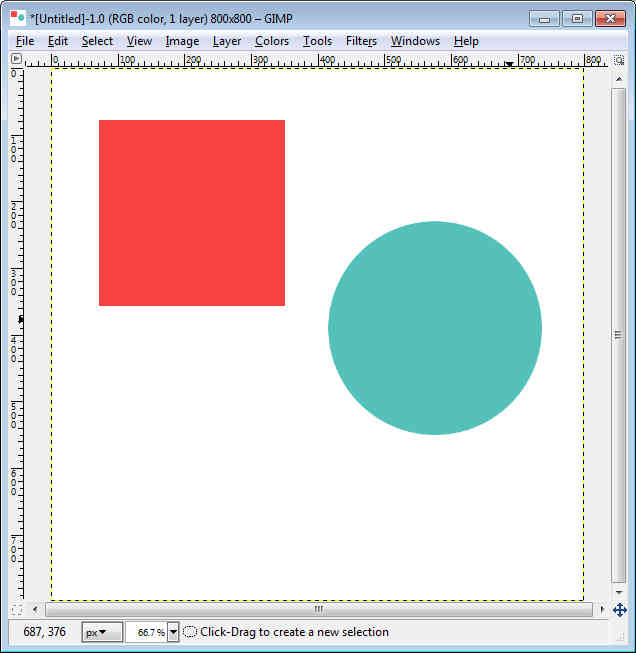
Let the Fun Begin – Draw a Horseshoe
Now let’s draw something a little more complex, a complex shape such as a horseshoe, just for demonstration sake. To begin select the “free select tool”.

Begin drawing your desired shape. To get a straight line click once and release, and move your mouse to the desired next point. To get a free form line click and drag the mouse in the desired pattern, when you’ve outlined everything click back on the starting point to select the shape.
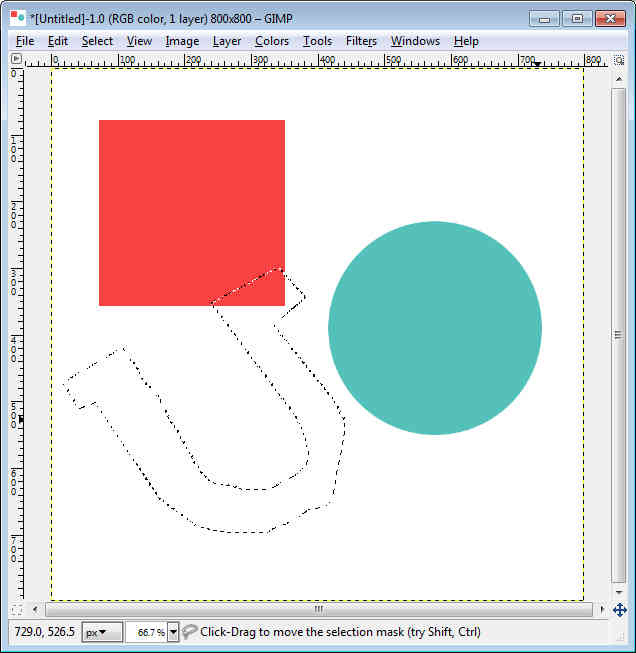
I used a combination of straight and free form lines to create a complex shape, a horseshoe. The freeform are where the lines look wiggly. A computer mouse, it’s not very accurate and it’s very easy to make mistakes. Let’s finish by filling the horseshoe in with the same techniques we used to fill the square and circle. With the “bucket fill tool”.

Select a color by clicking the black box on the bottom of this example or in the middle of the toolbar and selecting a color. Then, using the “bucket fill tool” fill it in with the desired color.
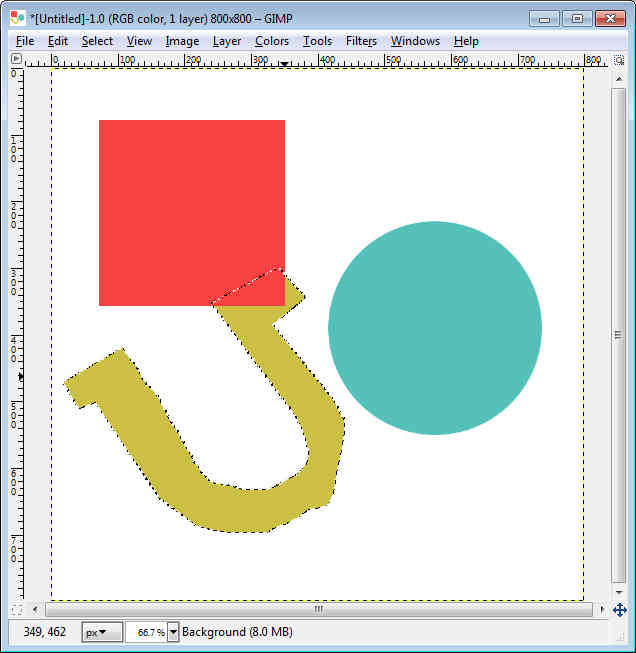
To remove the selection click on the “free select tool” and click outside of your selection. Complex shapes are now just child’s play once you see how easy they are to do.


